Sundays are for baking is a roughly monthly newsletter with recipes, cooking & baking tutorials, other writing, photos, and more! Subscribe now!
Note to subscribers: this issue may be cut off in your e-mail; click the title above to view in your browser on Substack.
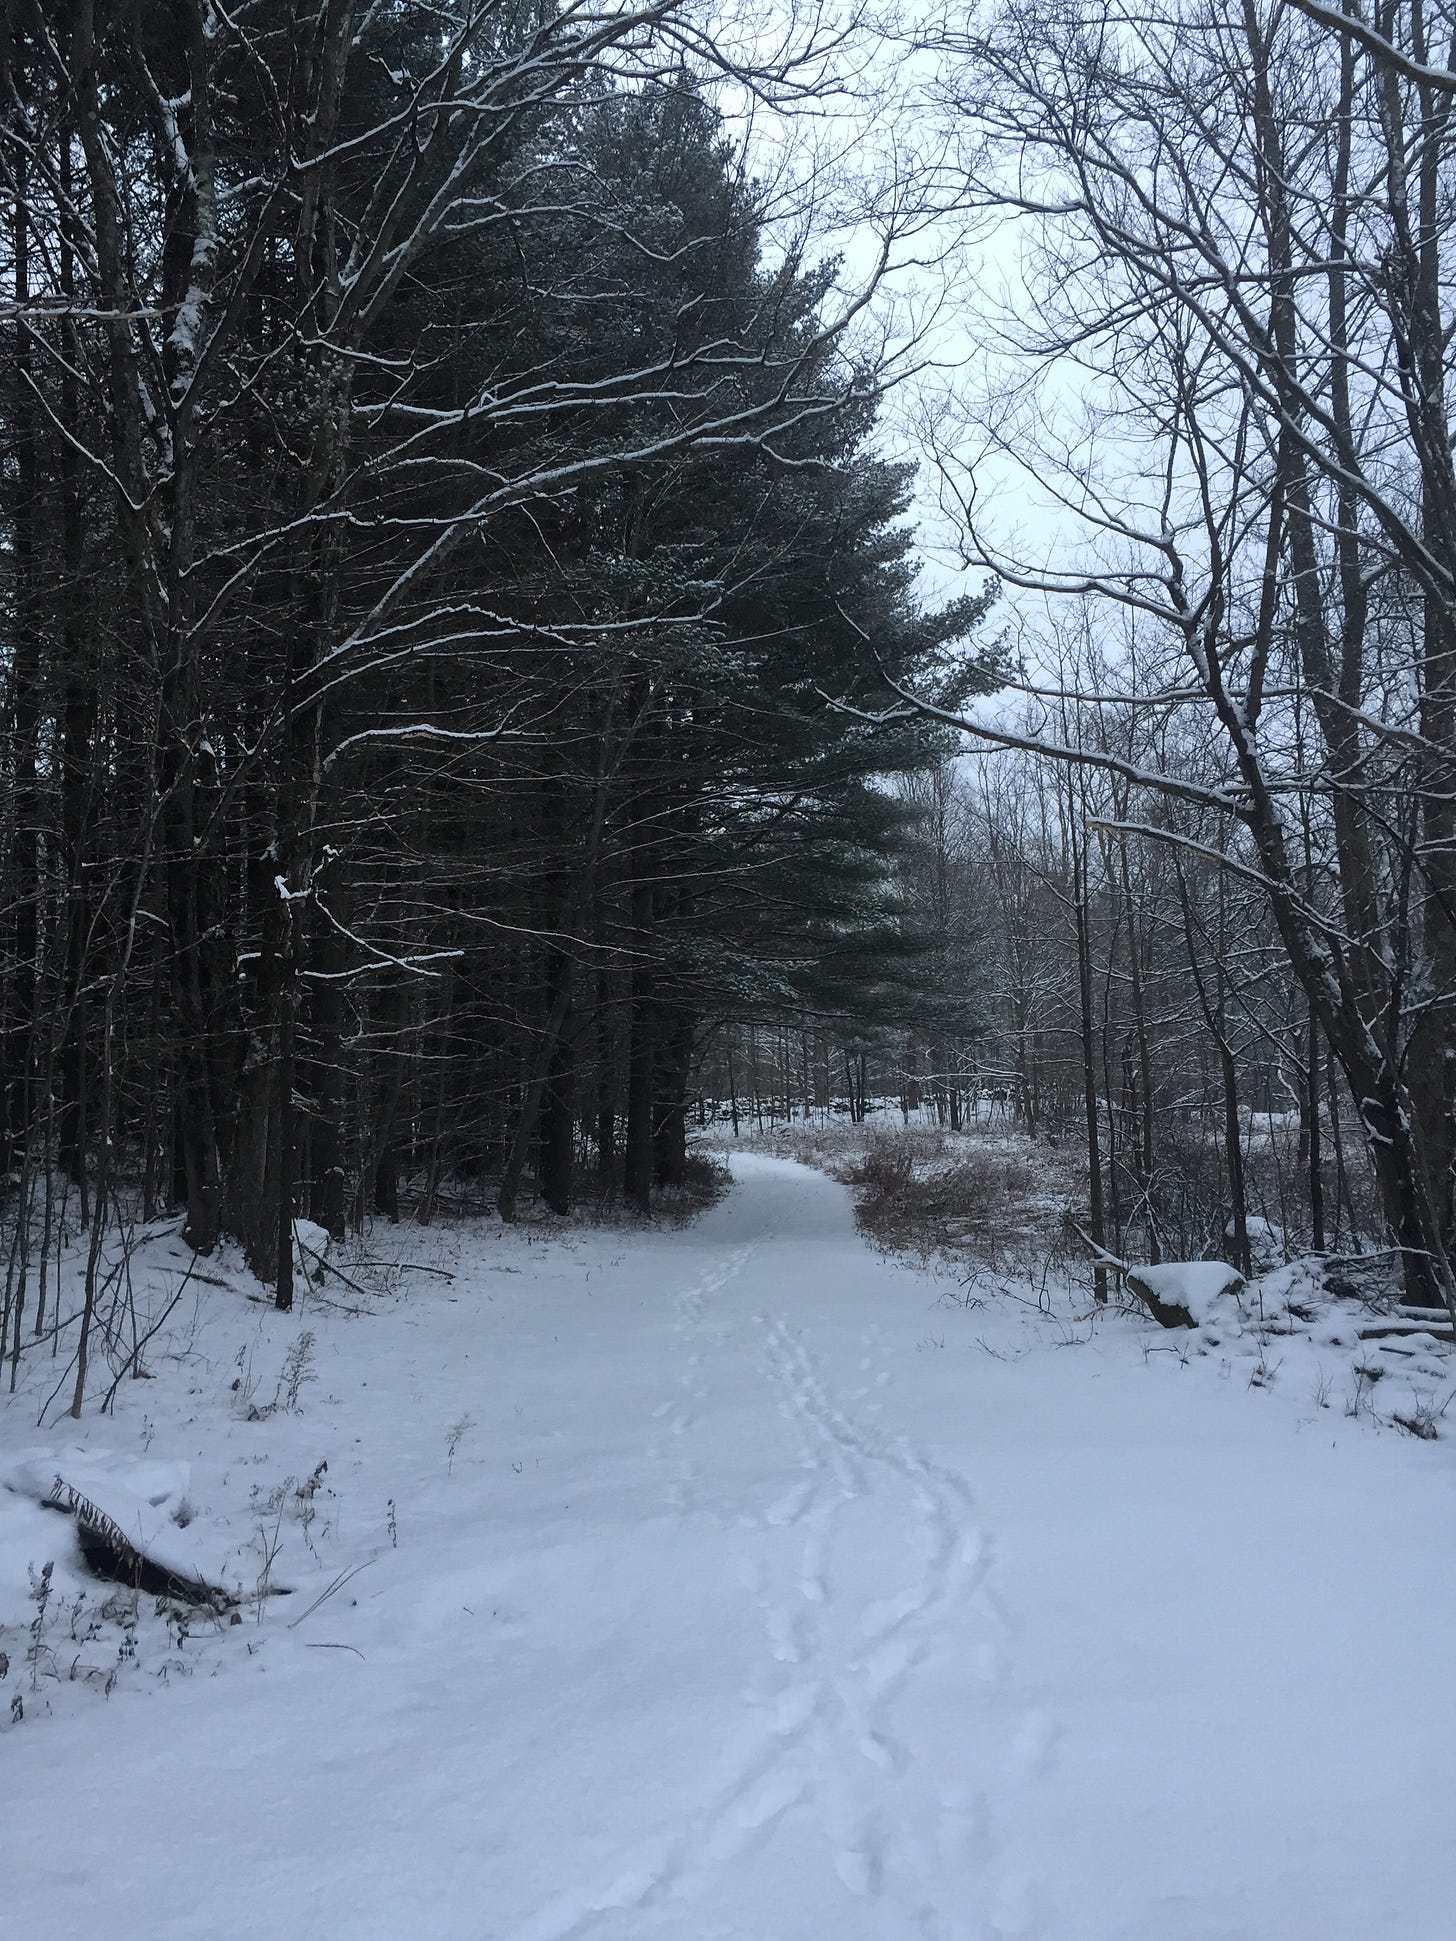
Welcome! Hope you all are doing well. We finally got snow back, after it snowed a few times and then melted completely - with record high temperatures and 50 mph wind storms. Temperatures have been fluctuating (how things go now - some of the time is unseasonably warm and there is not as much snow as there should be), but winter is here. Just after my last issue went out we had our first light snow here.
Thanksgiving has come and gone, as has Hanukah. I hope you got to be with some friends and family, and that you got to eat some pecan pie and other deliciousness.
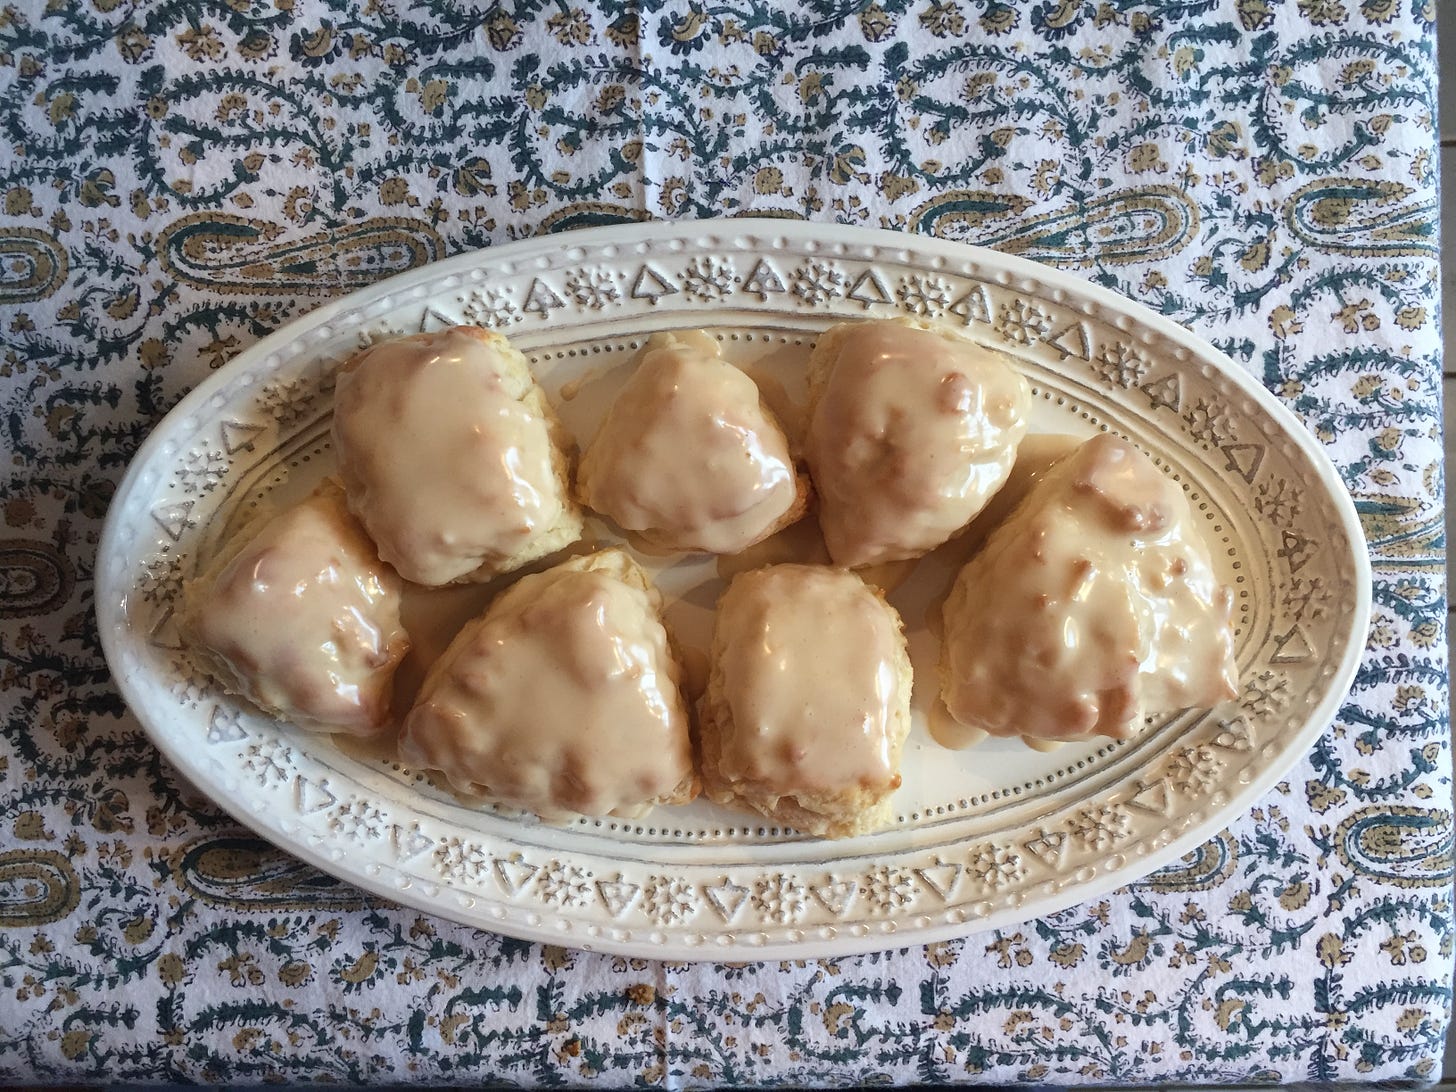
This issue includes a recipe for maple scones that is SO delicious. I like the thought of it as something you might make for the morning if friends or family were staying with you, or as a gift for someone, around the holidays. The recipe comes from King Arthur Baking. The scones are seriously scrumptious—not dry, perfectly buttery, maple-y, and a little bit crispy. They have a maple glaze, which I endeavored to layer on generously, and they are deliciously sweet (but not sickly). Below you’ll also find a holiday playlist and some more from me. Please like and share - and subscribe if you haven’t yet!
Maple Scones
Adapted from King Arthur Baking’s New Hampshire Maple-Walnut Scones
I find maple to be wintery and festive. The original recipe calls for maple flavor, in addition to maple syrup, but I omitted it (to me, the scones turned out perfectly maple-y without the maple flavor!). I also opted not to include the walnuts that the original recipe calls for, because I wanted plain maple scones, and also because—while I like walnuts and maple syrup—I’m not a big fan of the combination of the two. (By all means, include walnuts if you prefer - I’m sure the scones are good both ways!)
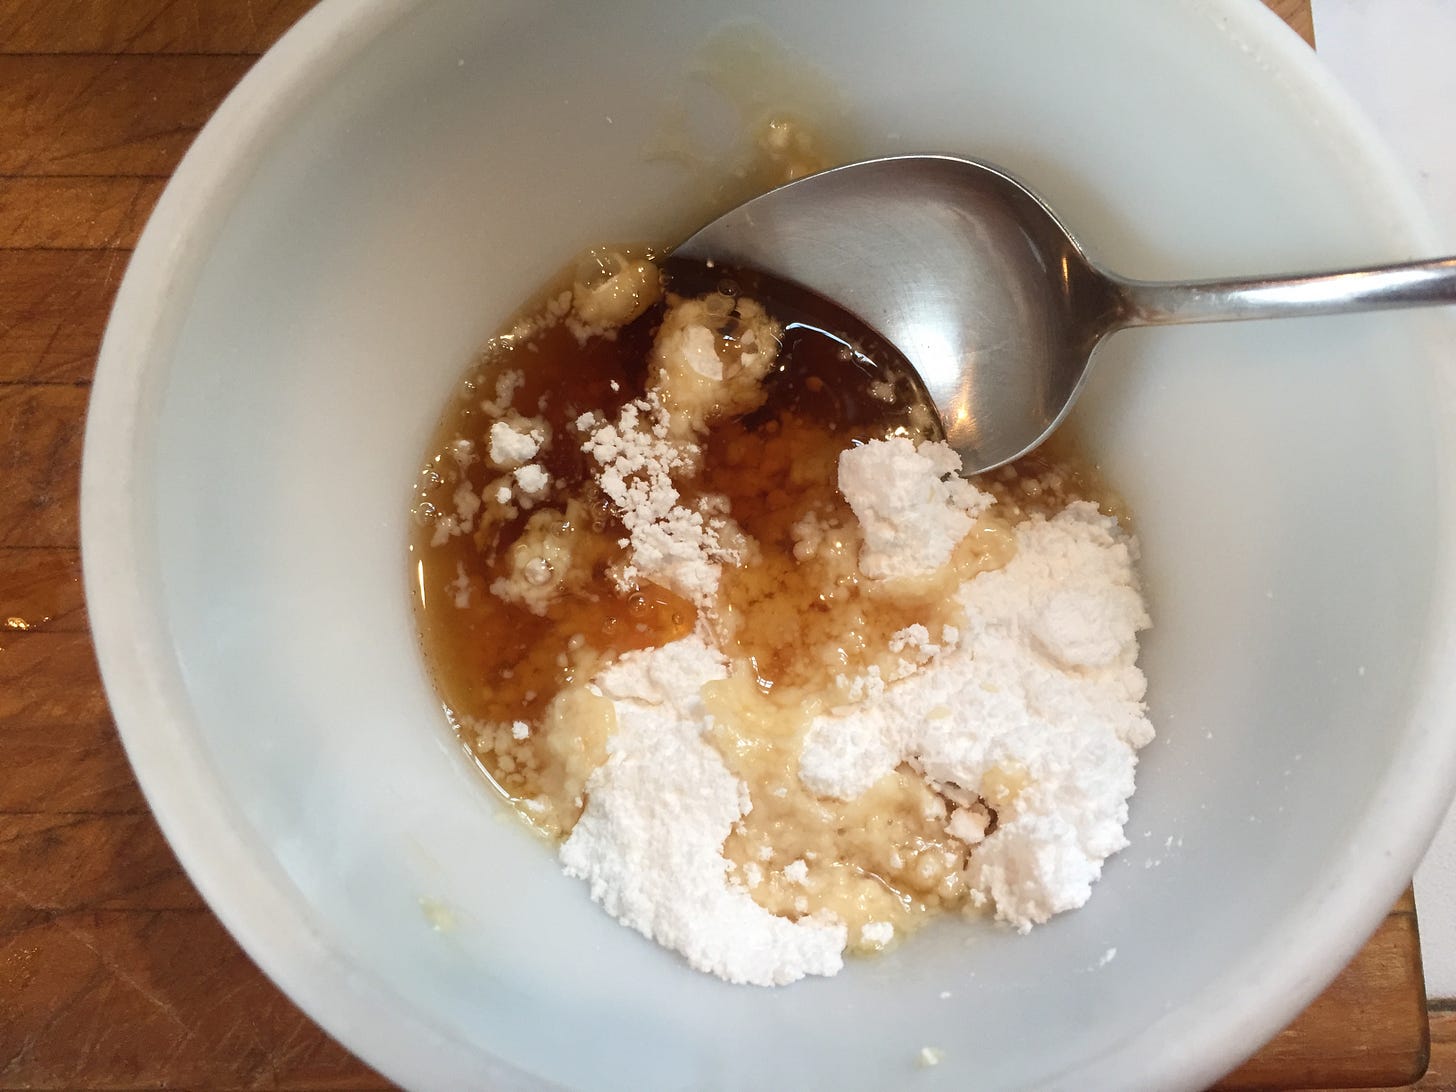
When I made these I halved the recipe (although afterwards wished I’d made the whole batch). Even halving the recipe made plenty of glaze. (The amounts that follow in the recipe are for a full batch of scones and glaze.) The maple glaze on these scones is next-level, although they are also delicious on their own. The glaze also adds to the maple-flavor of the scones, so I wanted a generous amount of it on each one. To do this, I coated each scone in glaze rather than drizzling it on.
Ingredients
Scones
3 1/2 cups all-purpose flour
4 teaspoons baking powder
1 teaspoon salt
11 tablespoons cold unsalted butter, cubed
1 cup cold milk
1/3 cup maple syrup
Note: original recipe also calls for 1/4 cup finely chopped walnuts and 1/2 teaspoon maple flavor (which I omitted)
Glaze
1 cup confectioners’ sugar
pinch salt
1/4 cup maple syrup
Note: original recipe also calls for 1/4 teaspoon maple flavor (which I omitted)
Yield: 24 scones
1. In a large bowl, combine the dry ingredients: flour, baking powder, and salt.
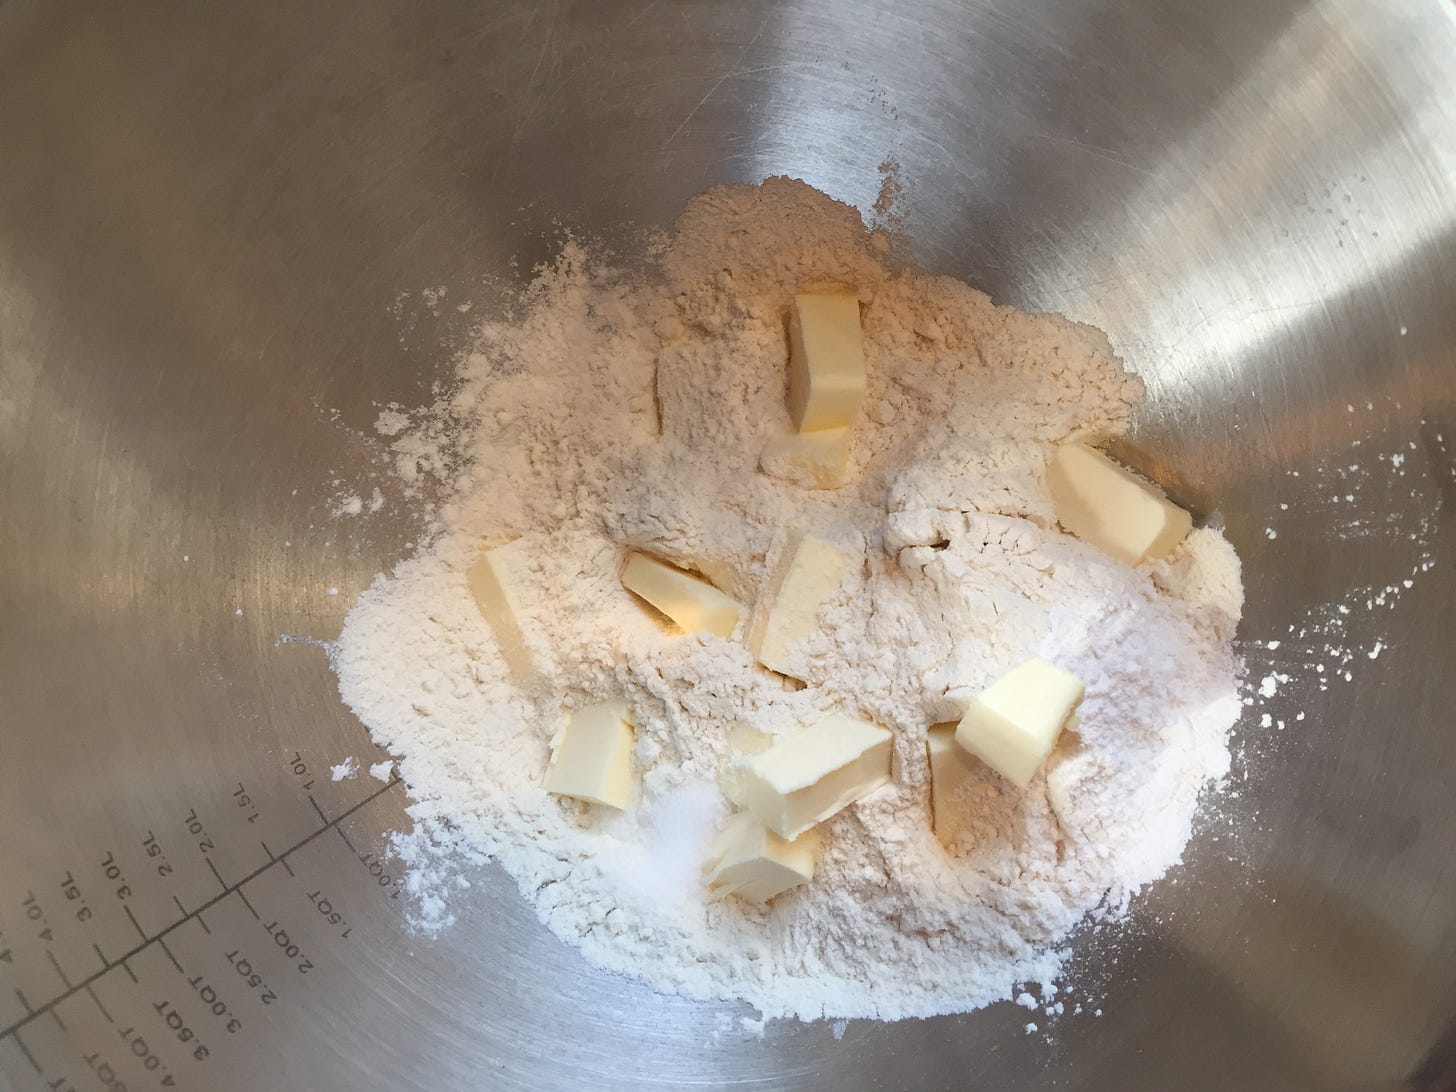
2. Distribute the cubes of butter in the dry ingredients.
3. Use a pastry cutter (or your hands, two knives, or a food processor) to incorporate the butter into the flour mixture. Work the cold butter in until the mixture resembles coarse crumbs.
4. In another bowl, combine the milk and 1/3 cup of maple syrup.
5. Add the wet ingredients to the dry ingredients; mix until you have a soft dough.
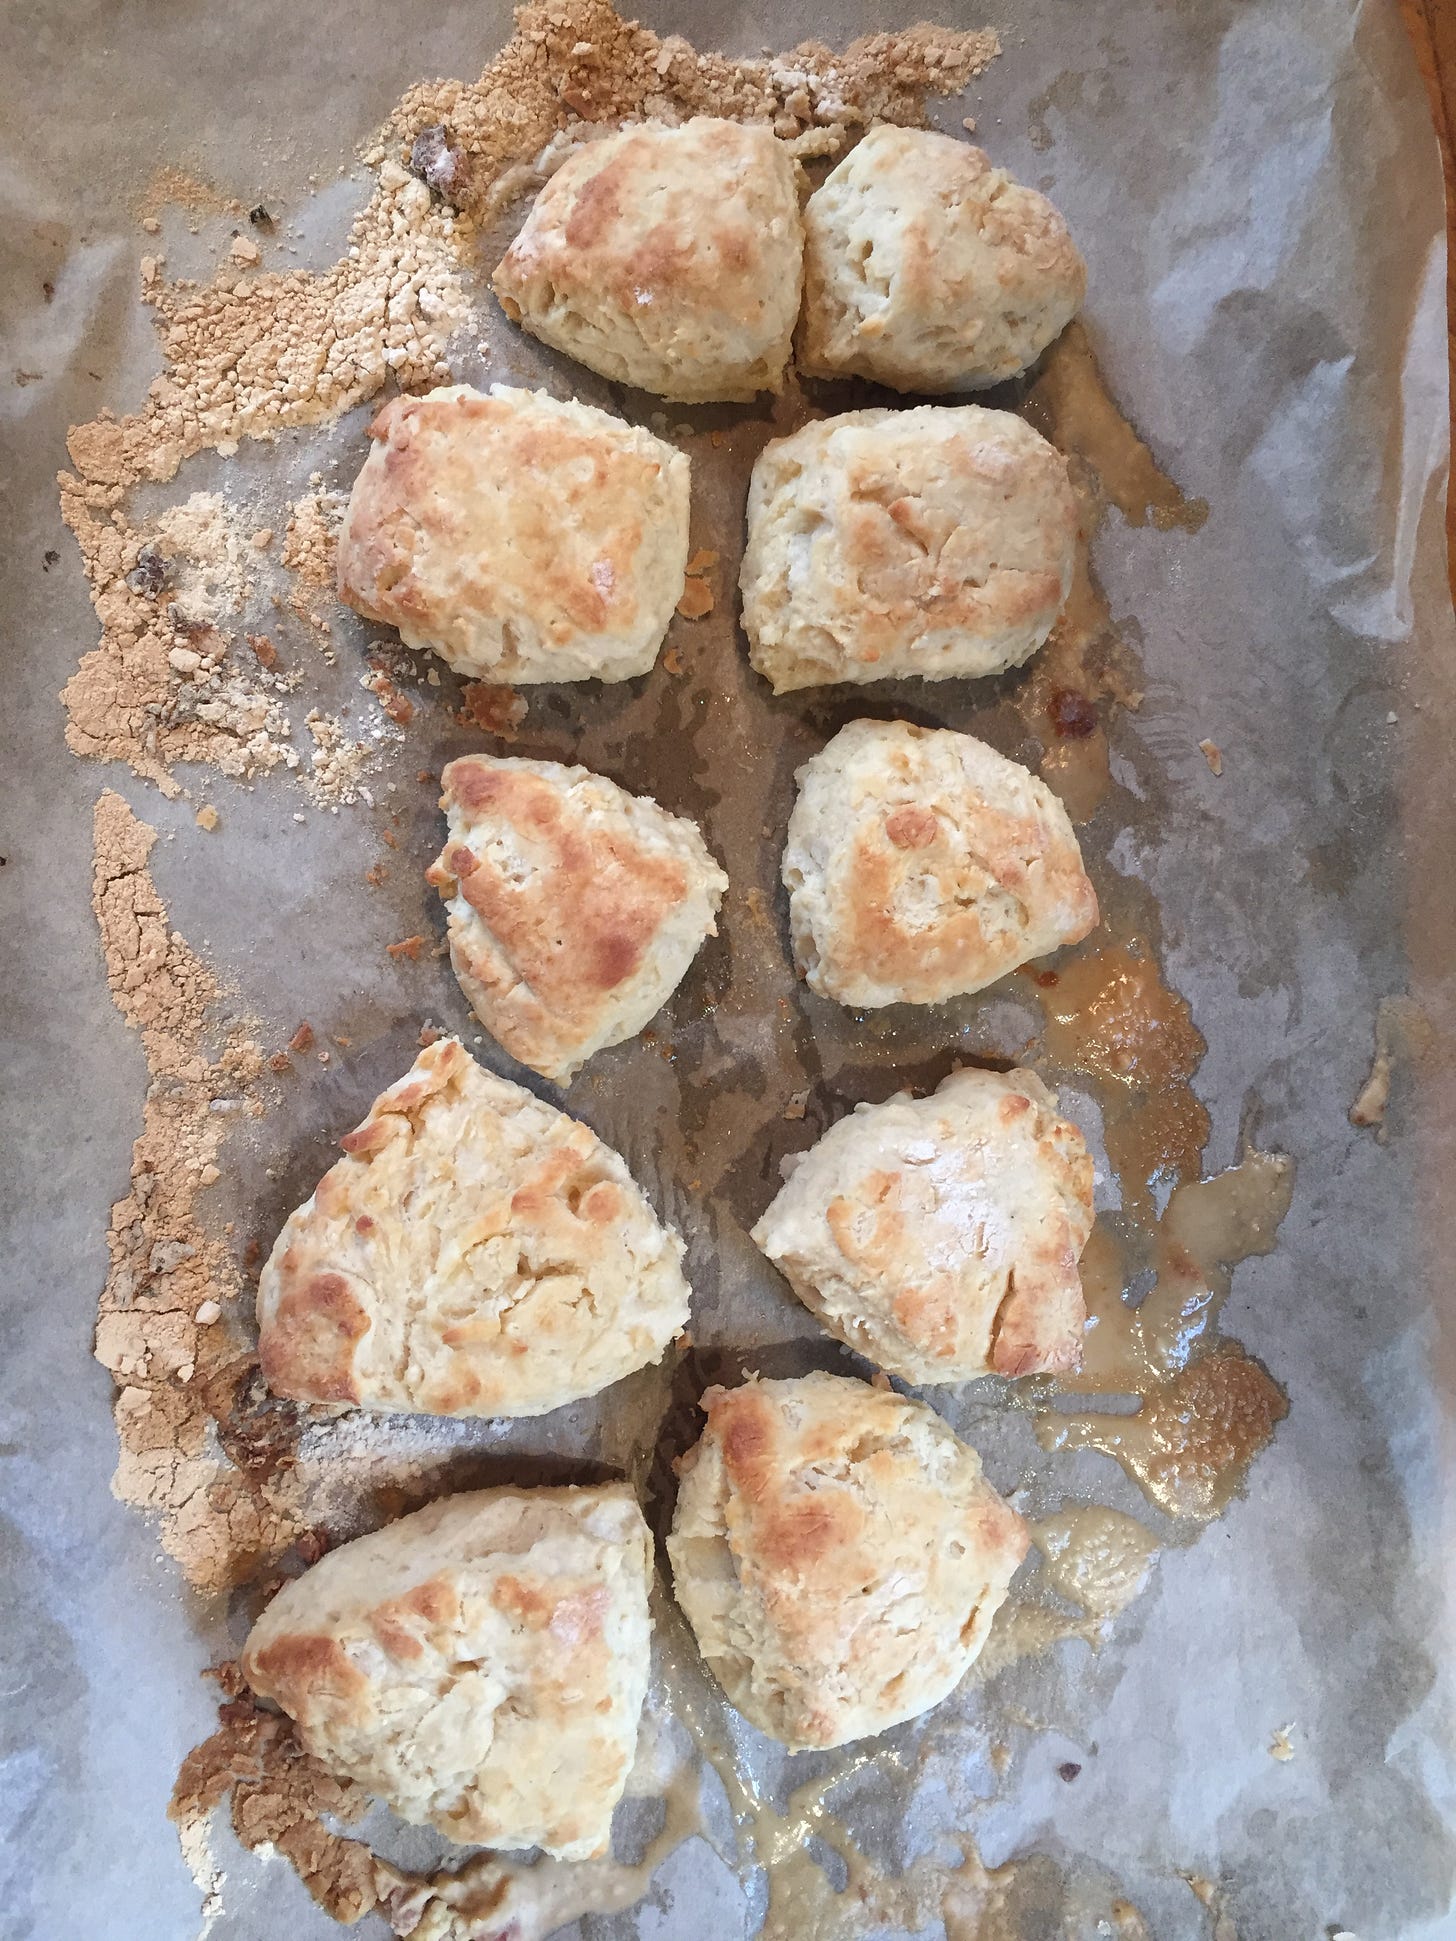
6. Flour your work surface and transfer the dough to the surface. —> The original recipe says to flour a piece of parchment and then you use that same parchment to bake, which is handy, but I found the excess flour on the parchment sort of burned and smelled in the oven, so next time I think I’d rather just plan to move the scones. Also, I had to add a tiny bit of milk in some dry spots and work the dough a little on the floured work surface to bring it fully together.
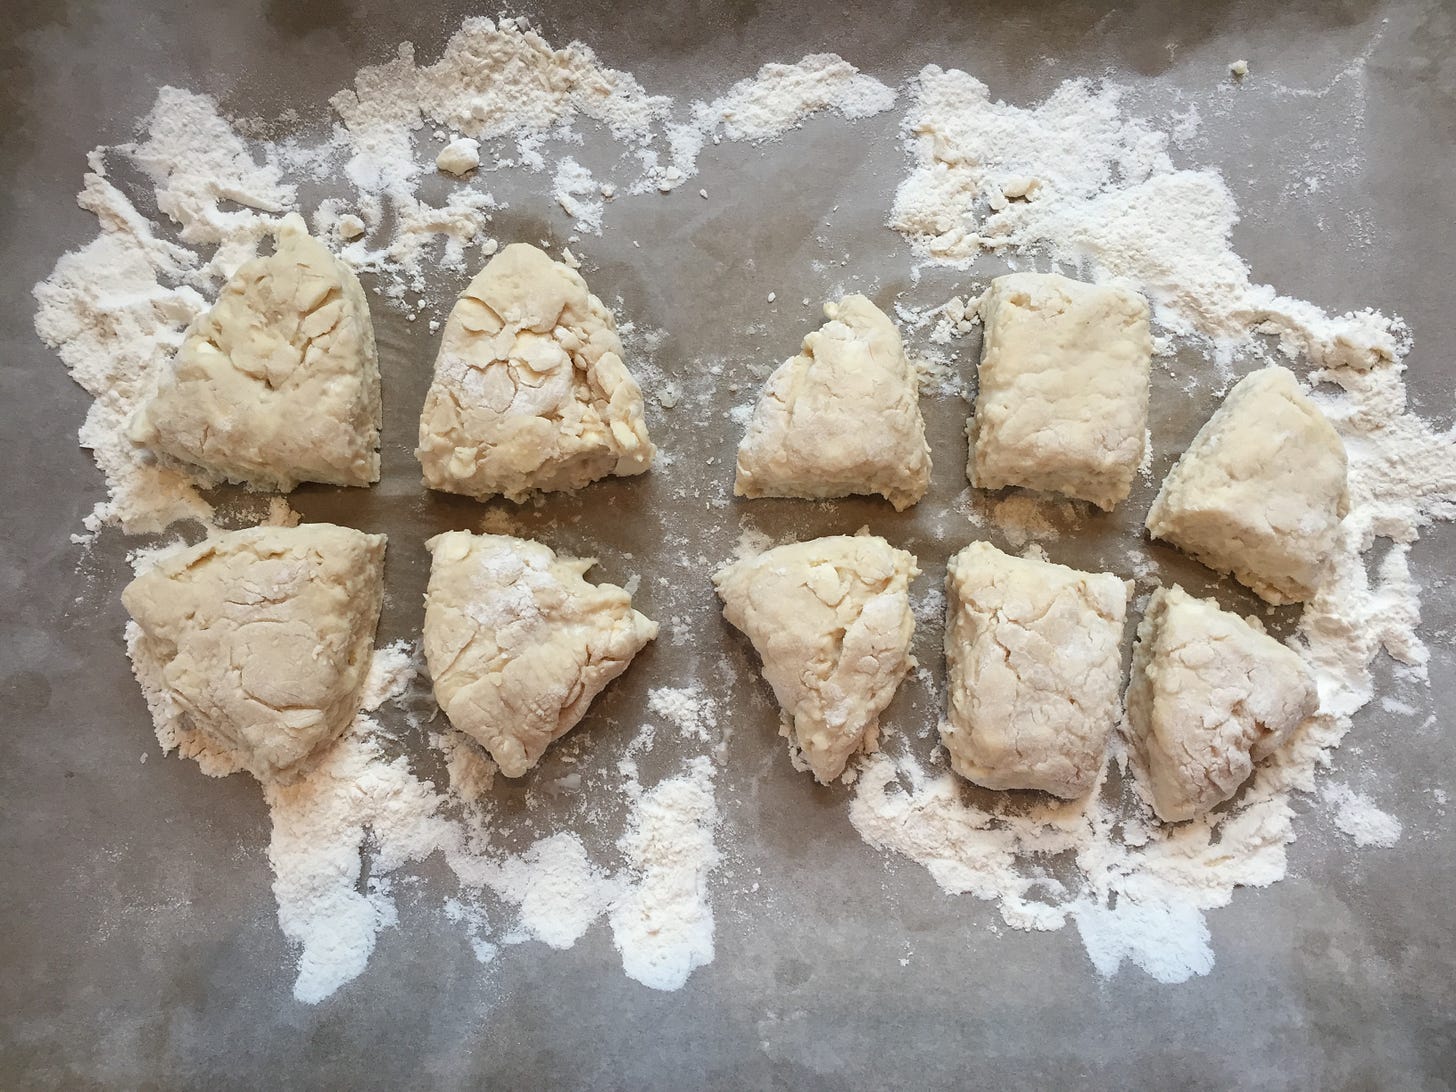
7. Cut the dough in half with a sharp knife. Gently pat each half of the dough into a circle about 3/4 inch thick. (Even if you halve the recipe, as I did, aim for 3/4-inch thickness, rather than a particular diameter for the dough circles.)
8. Transfer dough circles to a parchment-lined baking tray. Use a sharp knife to divide the circles into wedges and/or approximate rectangles. —> The original recipe says to form eight wedges out of your 3/4-inch-thick circles. I got slightly different sizes/shapes since I halved the recipe, but in any case—the goal is to make sure each scone in your batch is roughly the same size so they bake evenly.
9. Gently separate the wedges. —> The original recipe says to separate them so that they are barely touching in the middle but are about 1-inch apart at the edges. I found this tricky to do, maybe because my scones were smaller. I had them barely touching in the middle, and when I found they didn’t seem to be baking/drying out enough along the sides in the oven, I moved them apart a bit more before continuing to bake (see step 11).
10. Preheat the oven to 425F. Let the pan of scones chill in the fridge for about 20 minutes before baking, while the oven preheats. (The original recipe says you can also let them rest on the counter if there’s no room in your fridge.)
11. Bake for 15 to 20 minutes, until the scones are golden brown. (Mine wound up baking for 17 minutes total. I spread them out a little more about 13 minutes into baking because I felt they needed more space around each other. They do rise/grow a little during baking.)
12. Once they are baked, let them cool on the pan briefly and then transfer carefully to a cooling rack to cool completely.
13. When the scones are just about cool, make the glaze by combining all ingredients in a bowl.
14. Once the scones are cool, coat them in the maple glaze. I did this by turning them upside-down, pressing their surfaces into the glaze gently, letting the excess drip off, and then placing the scones upright - like you might do with iced sugar cookies. Letting the excess drip off before you turn the scones right-side up will help the scones look tidier, and I’m also OK with a little glaze dripping down the sides!
Store leftover scones well-wrapped at room temperature.
Holiday playlist
The winter solstice is coming. I’ve heard the darkest time of year is a good time to set intentions. I imagine many of us are already planning to do that on account of the new year. I feel like I’ve been setting intentions for years, I don’t if I’m meeting them, I guess sometimes I am and sometimes I’m not. There’s an ebb and a flow, like the moon and its tides.
Whatever you celebrate, however you celebrate, happy holidays. Thanks for reading; subscribe for more issues of Sundays are for baking; follow on Instagram; and like, comment, and share! ♡


