Sundays are for baking is a roughly monthly newsletter with recipes, cooking & baking tutorials, other writing, photos, and more! Subscribe now!
For e-mail readers: click here to view this issue in your browser on Substack.
Happy Valentine’s day, sweethearts. Hope you are staying warm. Does anyone else have this faint, embedded feeling - from elementary school days, or something - that with February comes at least the beginning of spring? I guess in a way it does. And I’m looking forward to spring - I’m starting to, slowly. But I am also trying to relish winter - we are really enjoying the snow. And even though winter days can be short and fast and dark, I know that the hustling, bustling longer days and strong sun of summer bring their own pressure and challenges.
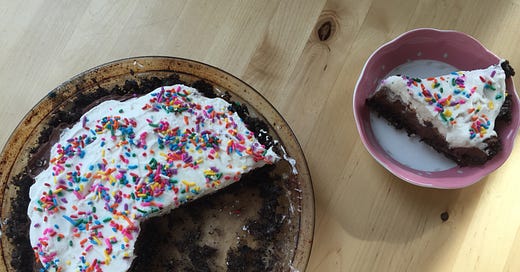
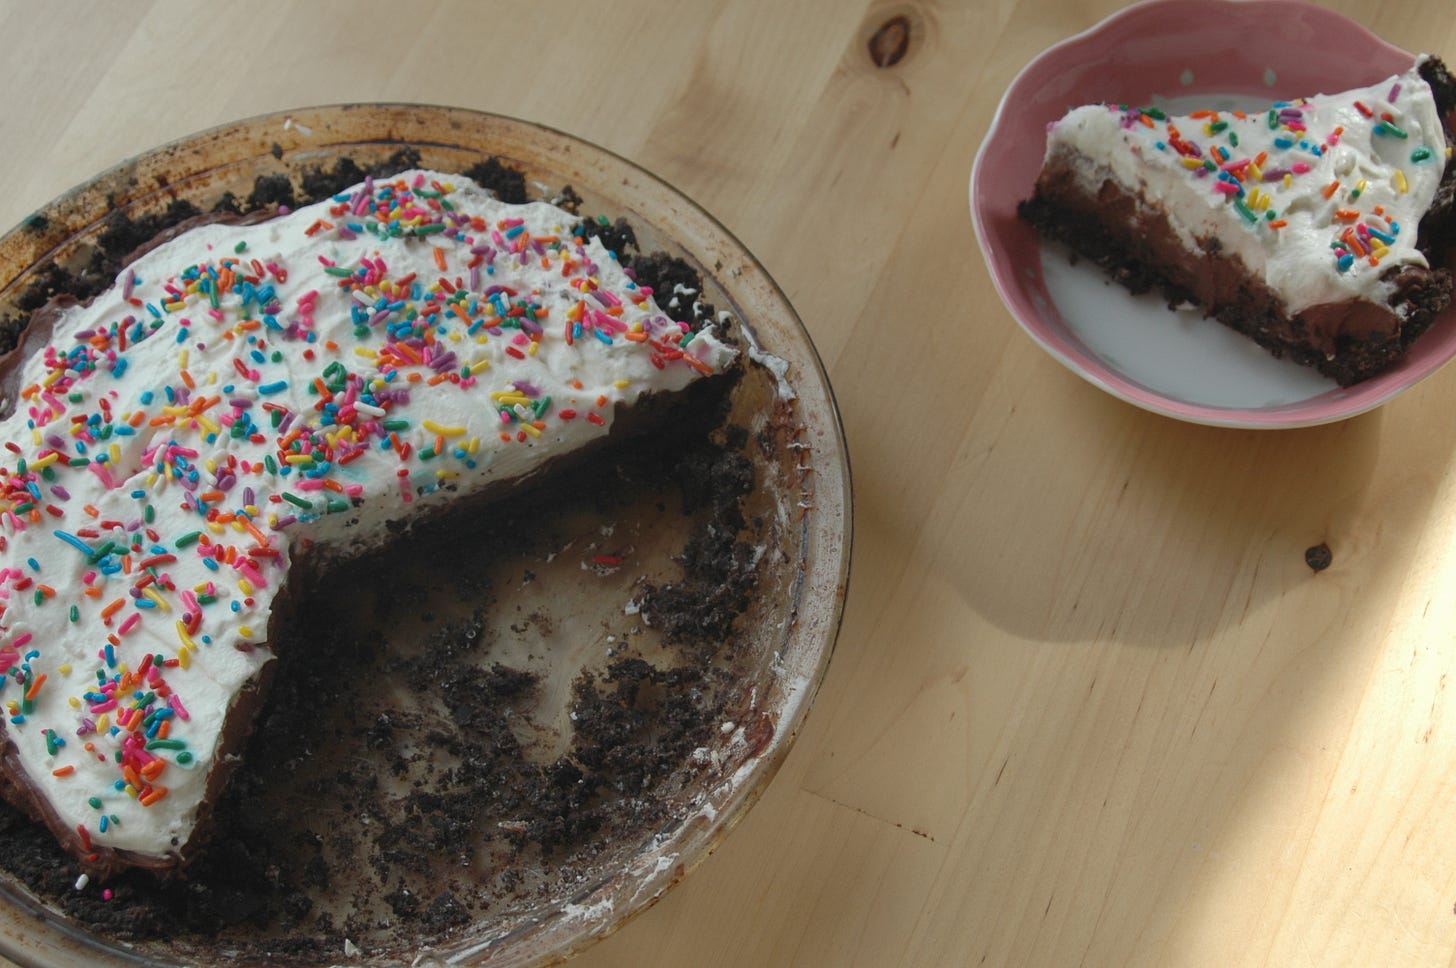
For this sweet, snowy holiday, I made a chocolate pudding pie! With an oreo cookie crust and fresh whipped cream! So good. A no-bake recipe, and it requires no equipment. These are the tools you’ll need: measuring cups/spoons, ziplock bags, a glass jar or rolling pin (for smashing), a whisk, a wooden spoon/silicone spatula, a pie plate, a few bowls, a medium saucepan, and a pie knife/off-set spatula - something to cut and serve.
Read all about this delicious, chocolatey, creamy treat and find the full recipe below. Make it for you and your Valentine, for your friends and family. After the recipe, there is a little love poem and more from me below.
Please like, share, and subscribe for newsletters in your inbox 💌 !
Chocolate pudding pie
Often, I opt for instant pudding - I actually like it, and I know other people do too. I LOVE making an oreo cookie pie crust and whipped cream from scratch, however! And if I am making those from scratch, I want to make the whole thing from scratch - including the pudding - for chocolate pudding pie! A most delicious and crave-able (if I’m being honest) dessert. I’ve made it several times because 1) I love it - I think I first tasted it when my aunt made it for Thanksgiving some years back, 2) it’s easy to make, and 3) my partner loves it too.
I was really happy, too, with the pudding recipe I used this time. And it’s quite a delicious experience making this pudding, if you are a chocolate-lover - the smell and experience of cooking the cocoa mixture, melting the chocolate chips, and stirring in the vanilla - mm!
This no-bake pie consists of an oreo cookie crust (using oreos and butter) filled with dark chocolate pudding and topped with whipped cream. I used local whole milk and local heavy cream to make this pudding and topping, which made a big difference and enhanced the pie. Moderately good-quality chocolate and cocoa powder for your pudding are also a good choice. The pudding recipe I used by Food52 was great for pie because the pudding was firm without being rubbery. And, even more importantly, it had a robust chocolate flavor, which made it worth whipping it up by hand rather than using instant pudding. The recipe calls for 3-4 ounces of dark chocolate, and I didn’t want the pudding to be too dark so I used about an ounce of semi-sweet chocolate along with about 3 ounces of dark chocolate. For me it was plenty dark, and deliciously so. Especially with the unsweetened hand-whipped cream. I love unsweetened whipped cream, and there’s no need to sweeten it when you have a sweet, and robust, pudding, and a sweet crust - I also added sprinkles ♡. The plain cream went so well with the pudding.
This pie is a great one to try because it’s fun to make and - again - it requires no equipment. A food processor and an electric hand-mixer can help for sure, but they are not essential. And the finished product is worth it - multiple crunchy, creamy, chocolatey laters!!
Ingredients
Oreo cookie crust
24 oreo cookies
4 tablespoons unsalted butter (salted is also fine) - plus more for greasingDark chocolate pudding
1/3 cup sugar
1/3 cup unsweetened cocoa powder
2 tablespoons cornstarch - this helps thicken the pudding
1/8 teaspoon salt
1 3/4 cups whole milk, divided
1/4 cup heavy cream
3-4 ounces dark chocolate, finely chopped or use chocolate chips (you can also use a mix of dark and semi-sweet chocolate)
1 teaspoon vanilla
(Optional: 1 tablespoon dark rum)Whipped cream
~1 cup cold heavy creamOptional garnish: chocolate chips, chocolate savings, sprinkles, oreo crumbs, etc.!
—> Prepare oreo cookie crust
Adapted from this blog.
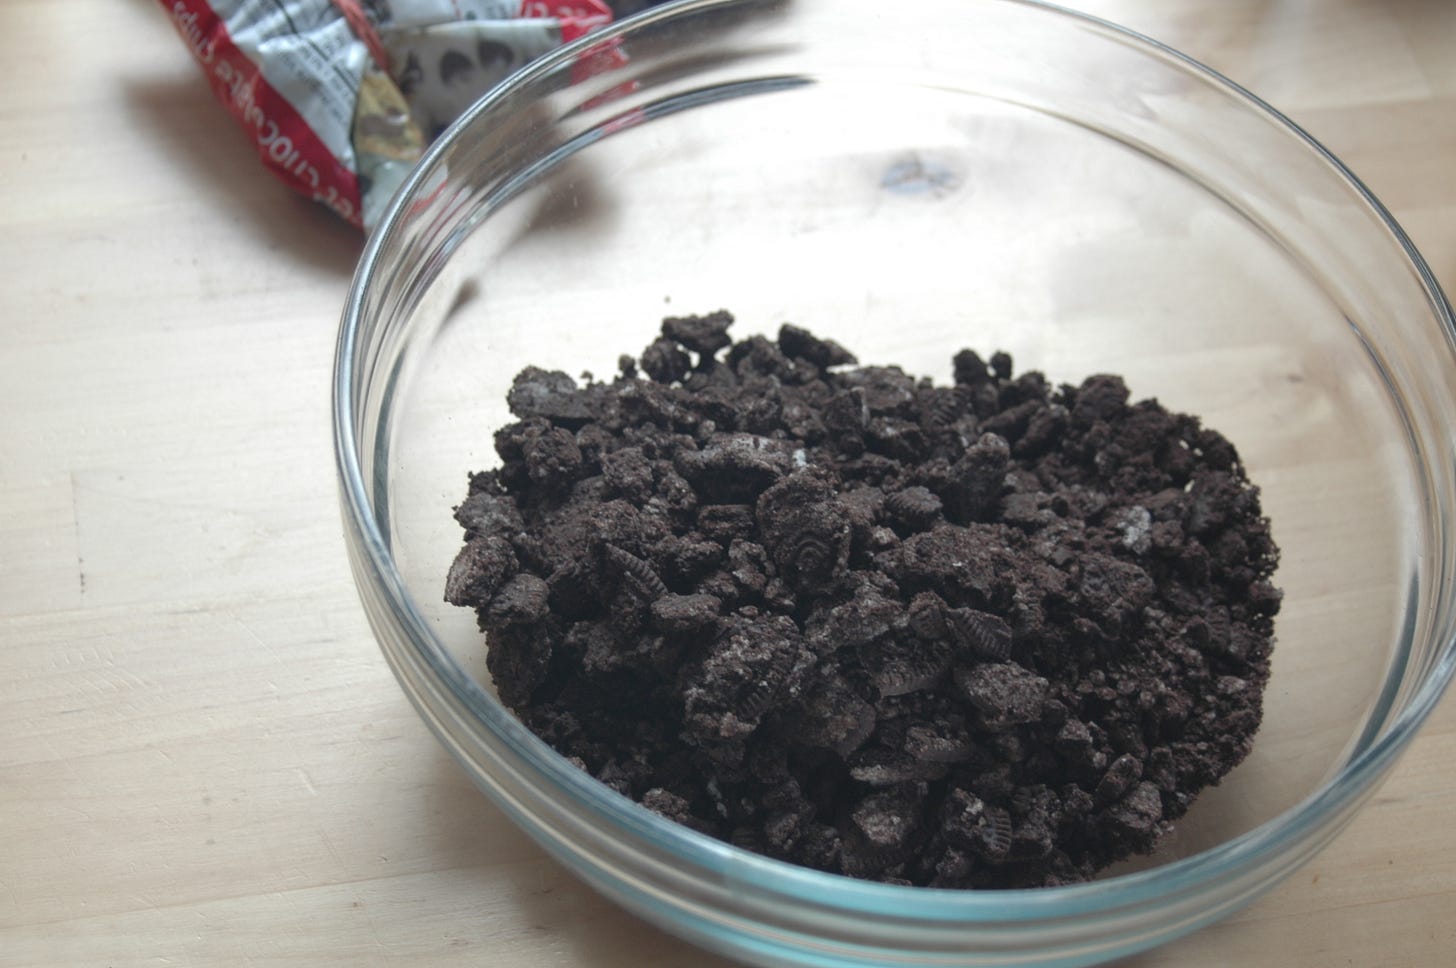
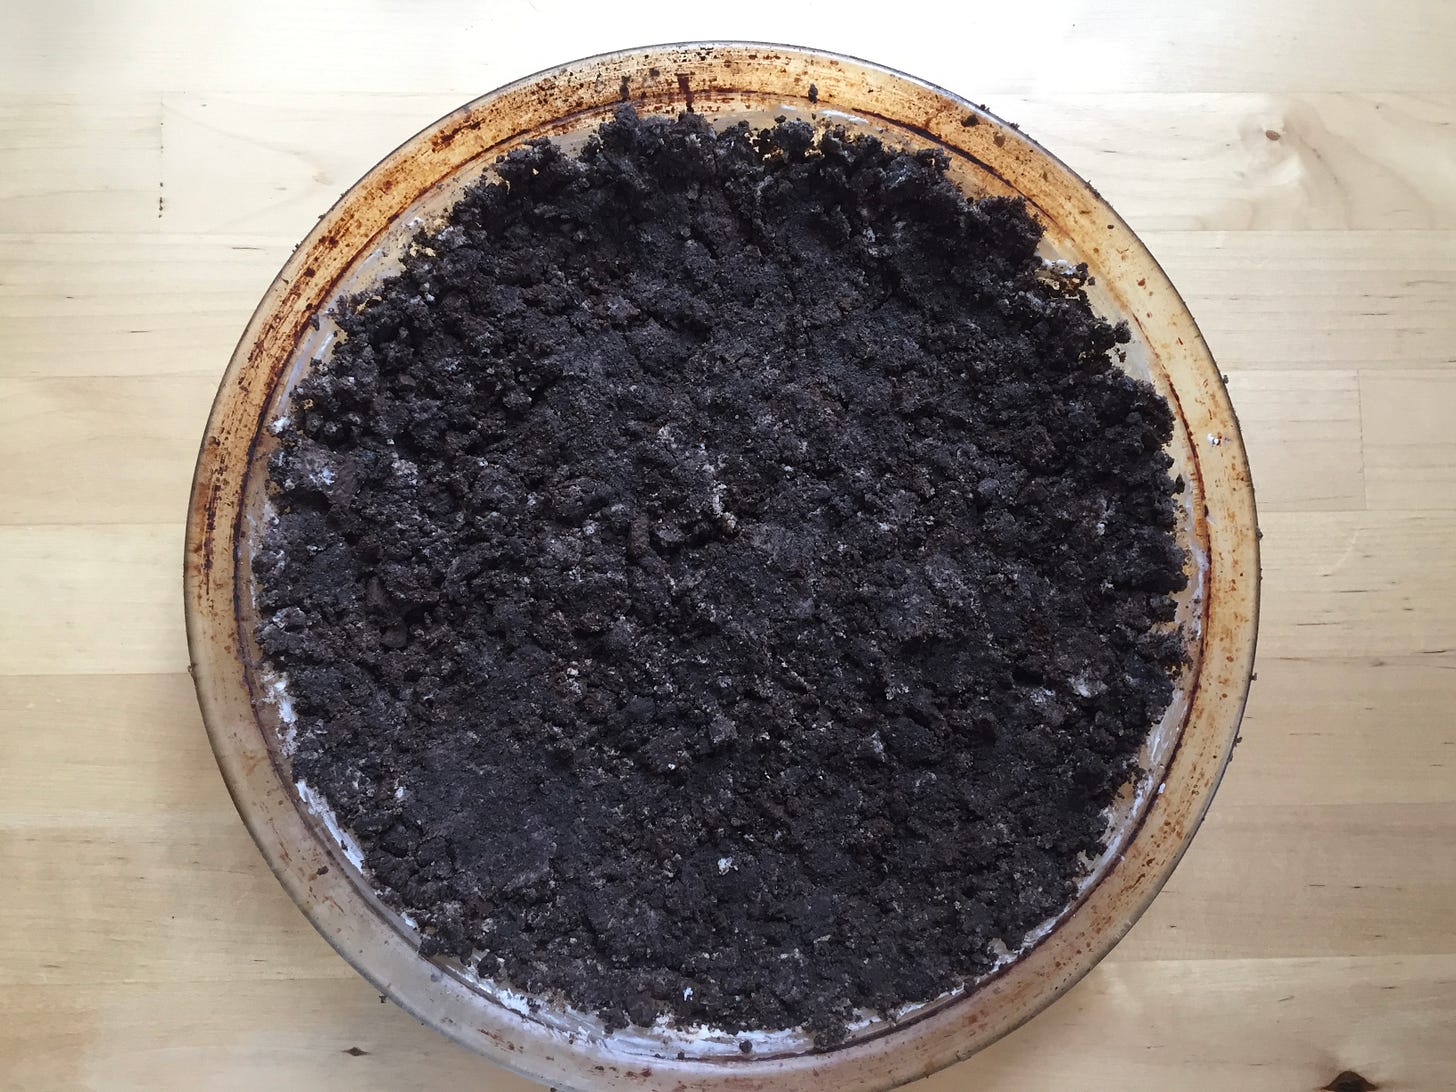
1. Crush the oreo cookies into crumbs. —> In this step, a food processor is helpful, but it is not essential. If you’re using a food processor, blitz cookies until you have fine crumbs. If you don’t have a food processor or don’t want to use one, put the cookies into a ziplock bag (I had to do this in two batches because I only had smaller bags on hand). Push as much air out of the bag as you can and then seal it. Use a mason jar, a heavy glass, or a rolling pin to crush the cookies into crumbs - this takes several minutes by hand. I smash them up first, and then roll them, and then smash them more like a mortar and pestle might, turning and tossing the bag frequently. Be careful not to rip a hole in it. Even if you give this a good several minutes, it’s hard to get the cookies as crushed as a food processor, so the final crust may be a bit ‘rough and ready’ in the eyes of Paul and Prue, but it looks and tastes delicious!
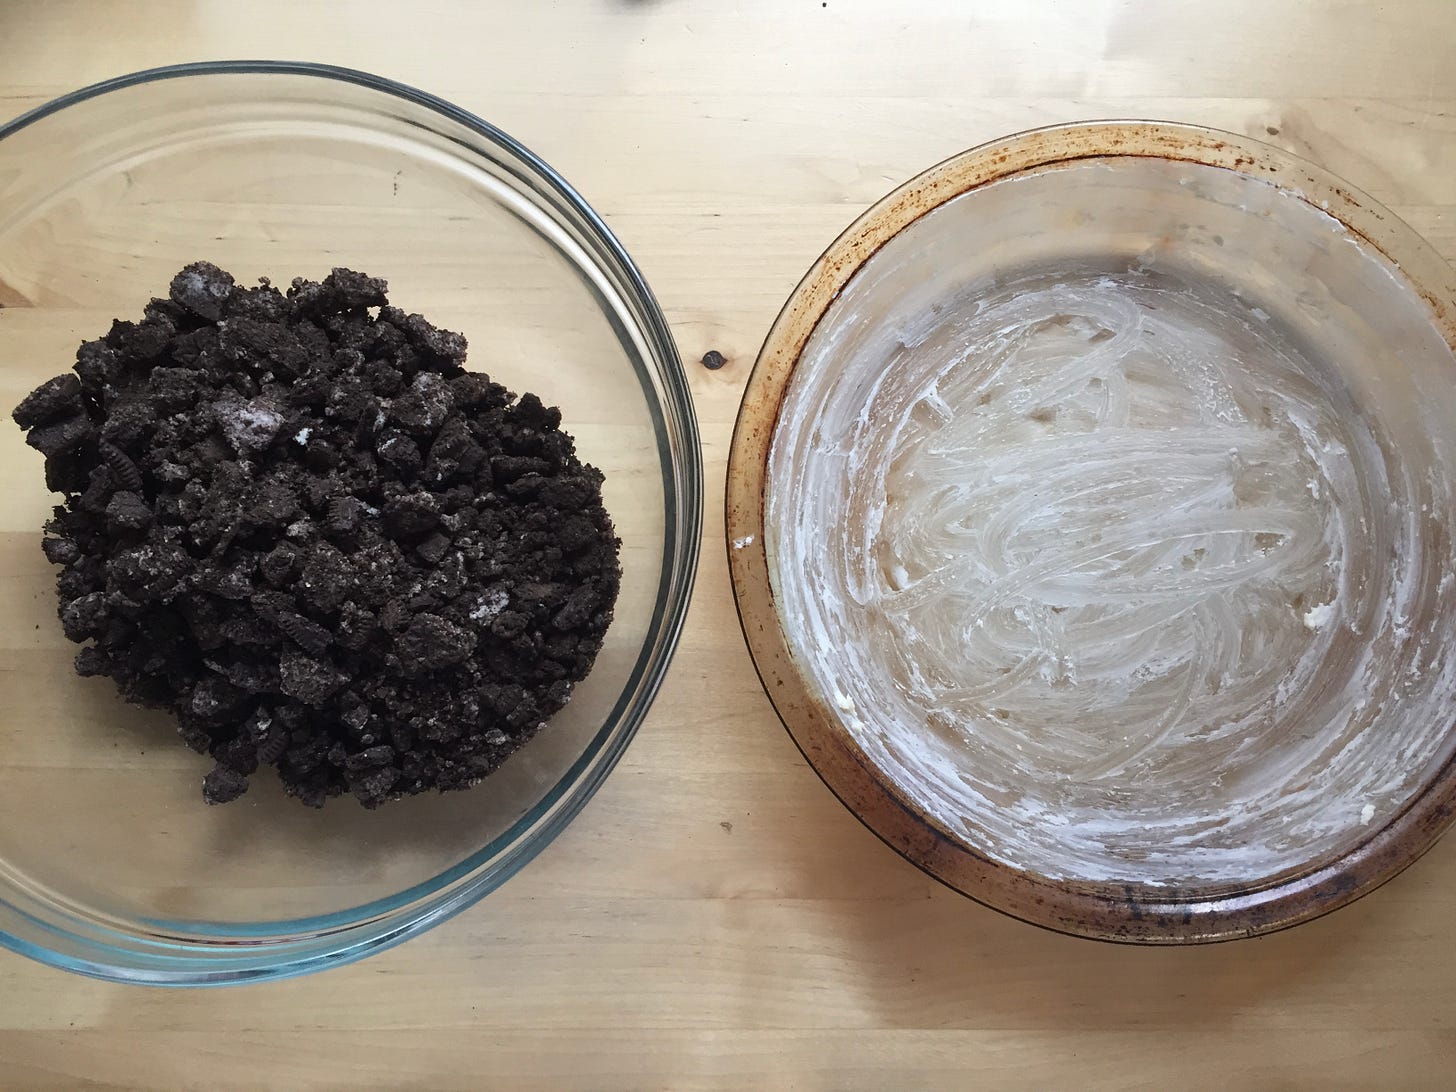
2. Grease your pie plate well - cover the base, in the corner, and up the sides of the plate. (This is an important step!)
3. Melt butter.
4. Put oreo crumbs in a bowl and add melted butter; mix to combine.
5. Pour butter and oreo crumbs into your greased pie plate - here is another opportunity to crush the oreo pieces. Use a wooden spoon and your hands to press the buttery cookie mixture up the walls and all over the base of the pie plate, creating a crust. You are basically pressing the crust into place. Try to make the whole thing cohesive.
6. Set your crust aside in the fridge or somewhere cool for at least 30 minutes. (You can also bake this crust for baked recipes.)
—> Prepare dark chocolate pudding (pie filling)
Adapted from Alice’s Chocolate Pudding Recipe on Food52.
1. Whisk together the dry ingredients (sugar, cocoa powder, cornstarch, and salt) in a medium sauce pan. Also, measure and set aside your chocolate.
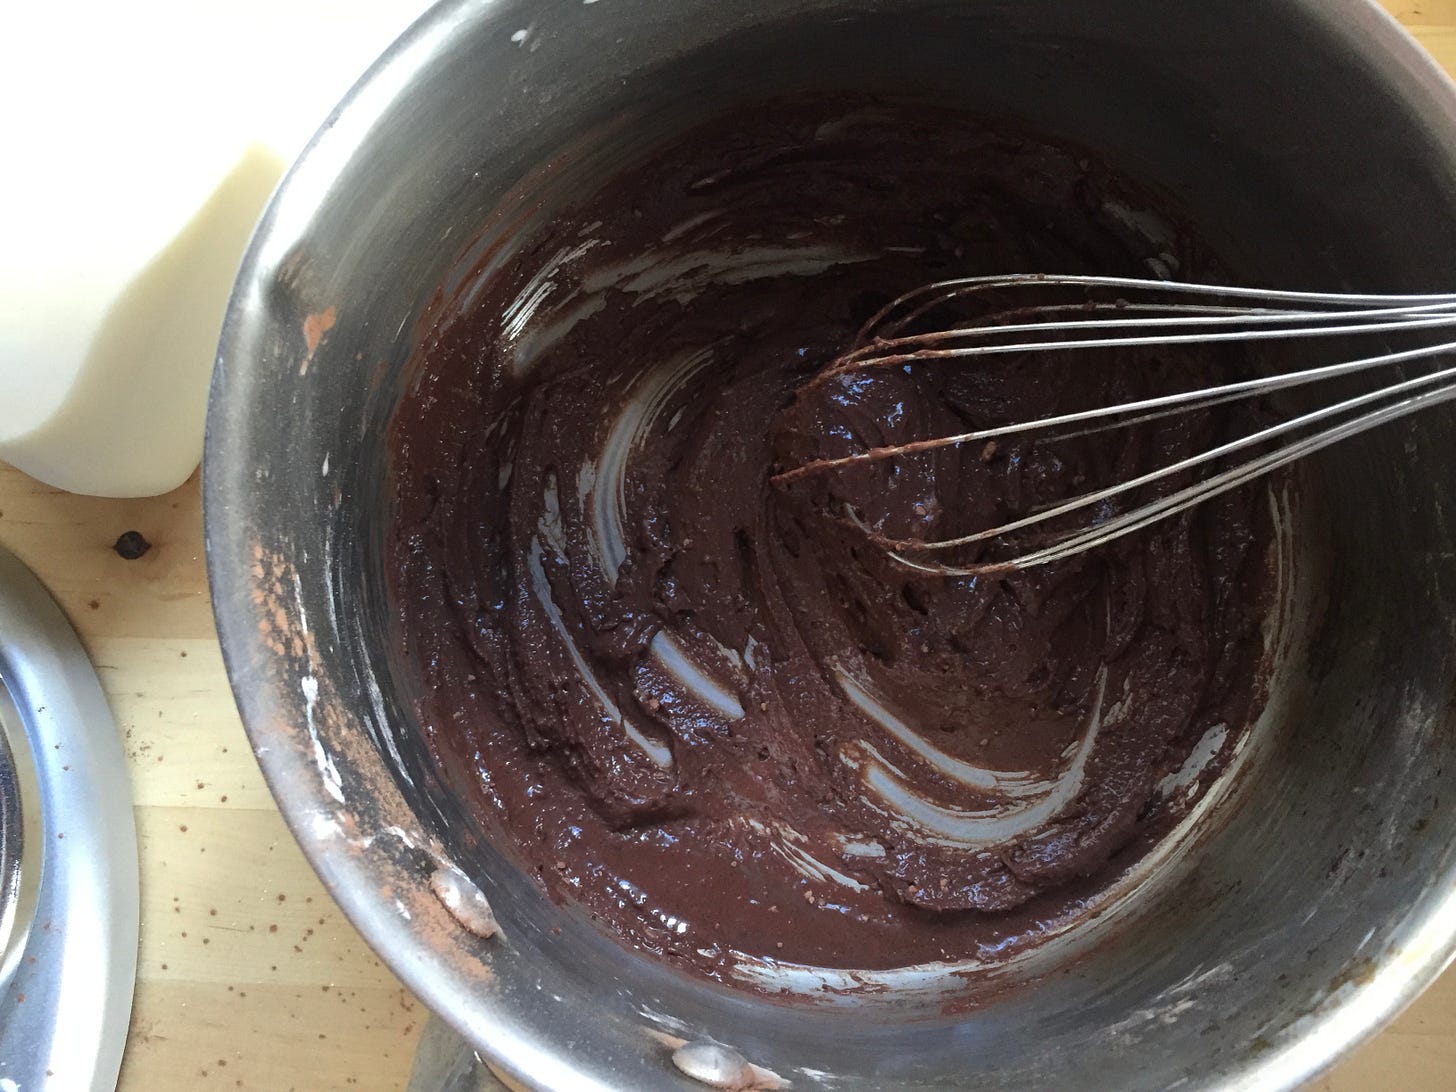
2. Measure your whole milk and then spoon about 3 tablespoons of milk into the dry mixture in the saucepan. Whisk to form a smooth paste, and add as much milk as you need (little by little) to get a smooth consistency. (I think I added closer to 4-5 tablespoons of milk.)
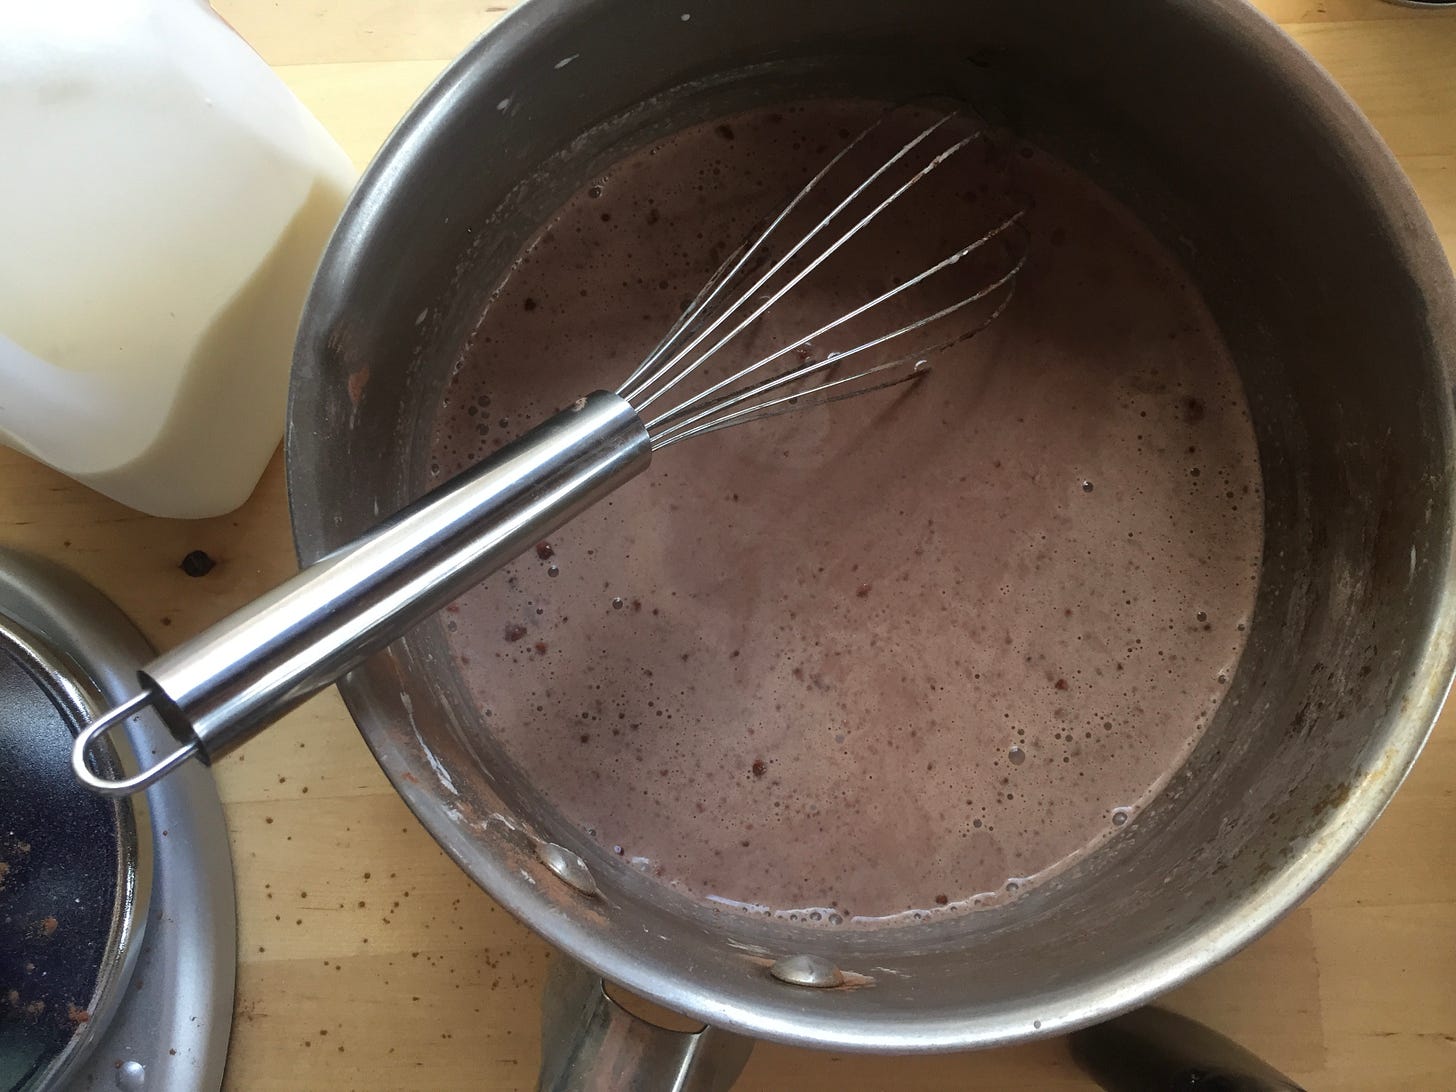
3. Whisk in the remaining milk and 1/4 cup of heavy cream.
4. Bring the saucepan to the stove. Using a silicone spatula or a wooden spoon, stir the mixture constantly over medium-high heat, scraping the sides and the bottom of the saucepan. You need it to get warm enough that it starts to bubble at the edges and the pudding starts to thicken. (The recipe says this takes about 5 minutes; it took me a little longer because I started off heating it a bit too low.)
5. Once the pudding is beginning to thicken and is bubbling a bit around the edges, cook it for about 1 minute longer, continuing to stir constantly.
6. Add the chocolate and stir briskly until the chocolate is melted and the pudding is smooth, about 30 seconds. Remove from heat and stir in the vanilla (and the optional rum, if you’re using).
7. Transfer pudding to its container for setting. —> Since I made this pudding for a pie, I put it into a glass mixing bowl. I do not like skin on pudding! So if you are like me, press a piece of parchment paper (or plastic wrap) against the surface of the pudding. Do all the transferring steps relatively quickly, because the pudding will start to set as soon as it starts cooling down. (If you are not making a pie, feel free to set your pudding in its serving bowl(s)!)
8. Chill the pudding for a while (at least an hour or so) before using it to fill the pie. (Of course, if you are not making a pie, eat the pudding warm, at room temperature, chilled, however you want!)
Editor’s note: I don’t have pictures of the next two phases because the sun went down!
—> Prepare whipped cream (pie topping)
When you are about ready to assemble your pie (the crust and pudding are set), whip about a cup of cold heavy cream with a whisk for a good several minutes until it thickens into whipped cream. You are welcome to sweeten the cream first with sugar or flavor it with vanilla, etc., but I like it plain, especially for this pie. (A cup of cream should give you enough whipped cream to about cover your pie - of course you can make more or less depending on how much cream you want for topping and serving.) —> If you have an electric hand-mixer, use the whisk attachment and whip the cream even faster!
—> Assemble the pie
1. Once your crust, filling, and topping are all ready - scoop and spread the pudding into the prepared crust.
2. Top the pie with whipped cream. (Alternatively, you could just add a dollop in the center or serve individual slices with a dollop of cream.)
3. Garnish however you want - add chocolate chips, chocolate savings, sprinkles, oreo crumbs, etc.!
Tip: When serving, take care to try and loosen the slice on all sides, even the bottom if you can, before taking it out - there is a risk of the crust sticking to the pie plate, I have found, but greasing the pie plate well beforehand and slicing the pie carefully will help.
a little love poem
was it yesterday or today that i told you i loved you?
if it was yesterday
then i love you again
if it was today
well then i love you tomorrow
There were some days recently it was so cold and the snow was so deep that Niko didn’t want to go out with me, so I went on some solitary snowshoes. I like the feeling of it, the physical act of snowshoeing. I like looking around and seeing the snow on the trees and branches, everywhere, covering everything. Looking for birds. The sun through the trees. And the stars.
Thanks for reading. Please share this newsletter, and subscribe if you haven’t yet. Follow along on instagram, too. Talk to you soon! ♡








This looks so tasty and perfect for a snowy day :)